The following pictures are of the Skirrid hut under construction in our barn in 2012. They show some of the main steps in building a hut.

Assemble chassis from engineered steel angle iron and box section.
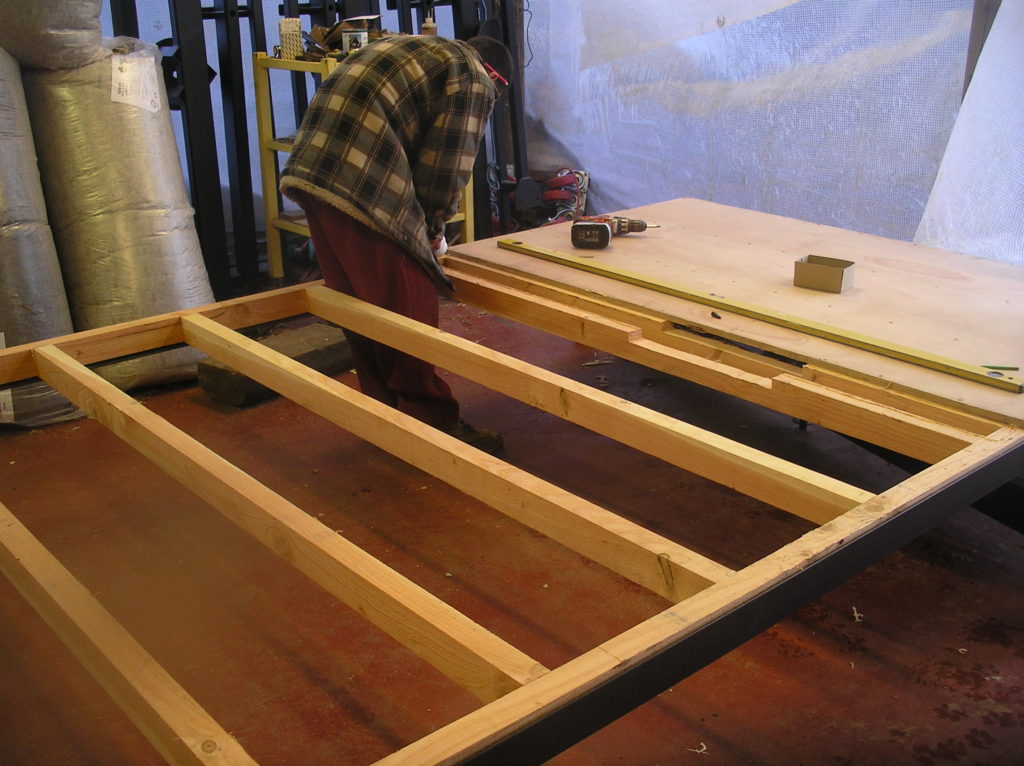
Create floor frame from timber and plywood to sit inside chassis.
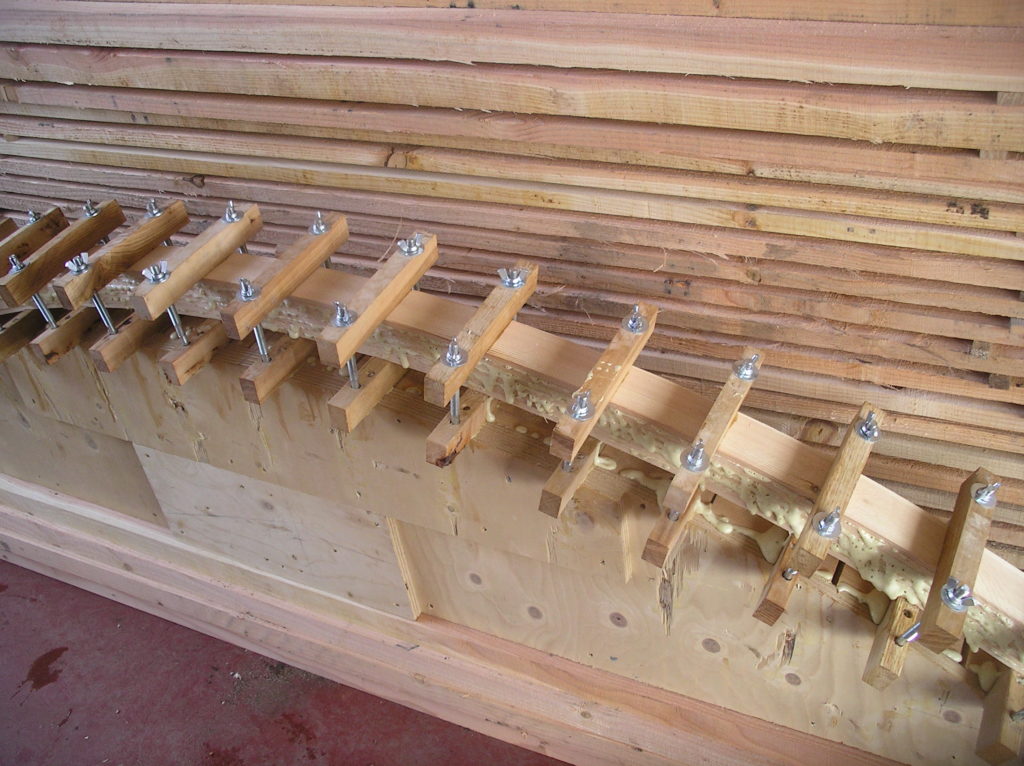
Build laminated ceiling arches by bending and clamping thin softwood strips over plywood former, using PU glue.

Build softwood frame from the floor frame.
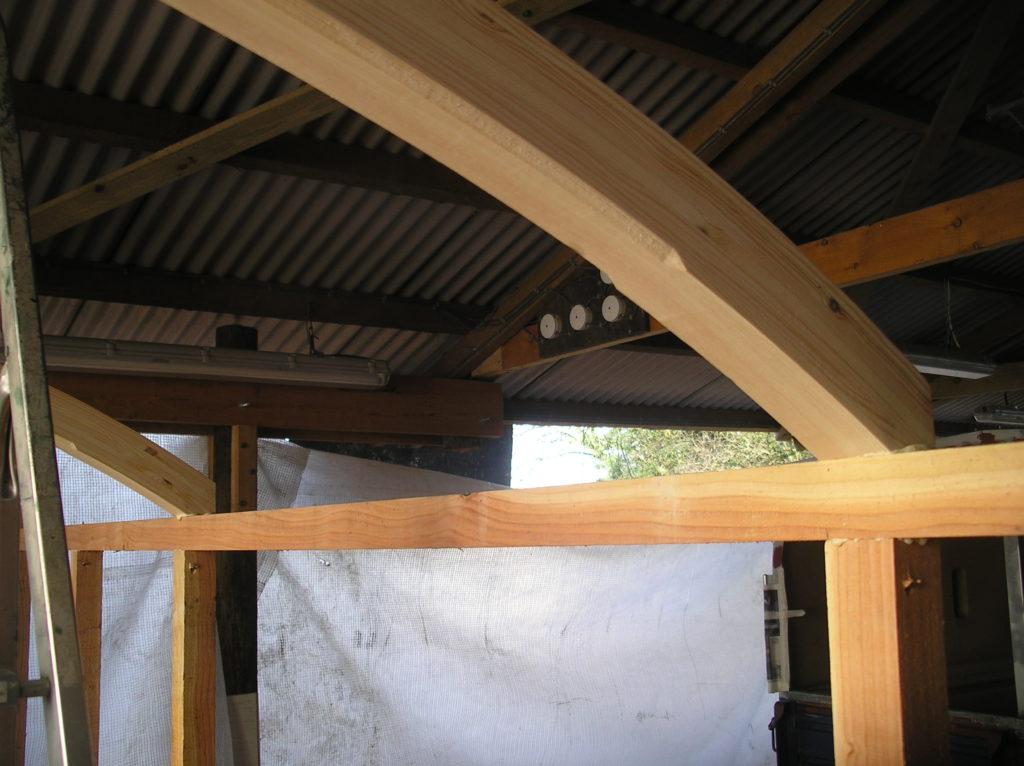
Fix ceiling arches to frame.
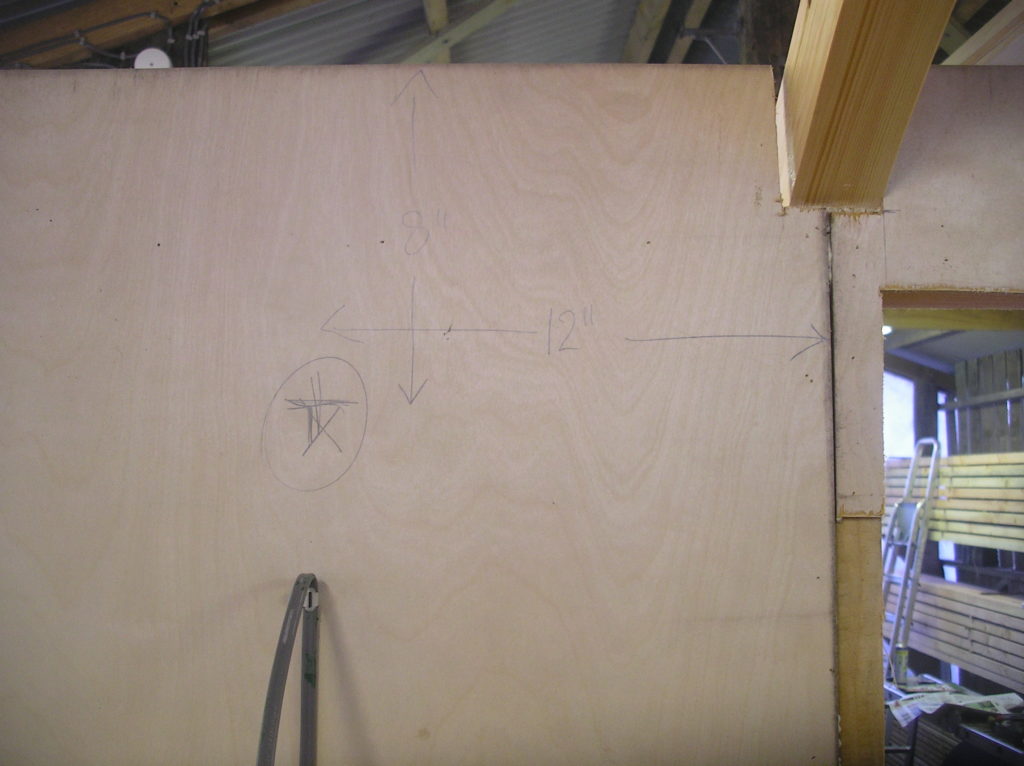
Line walls with plywood. Fix electric cabling.
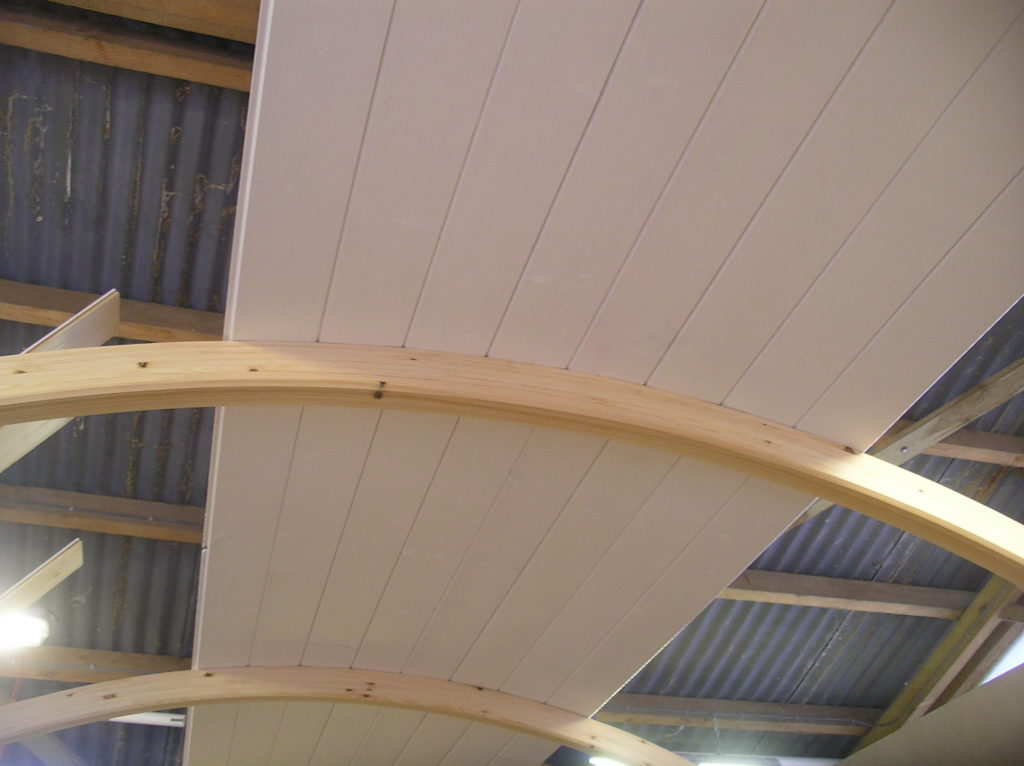
Fix painted tongue and groove matchboarding to create ceiling.
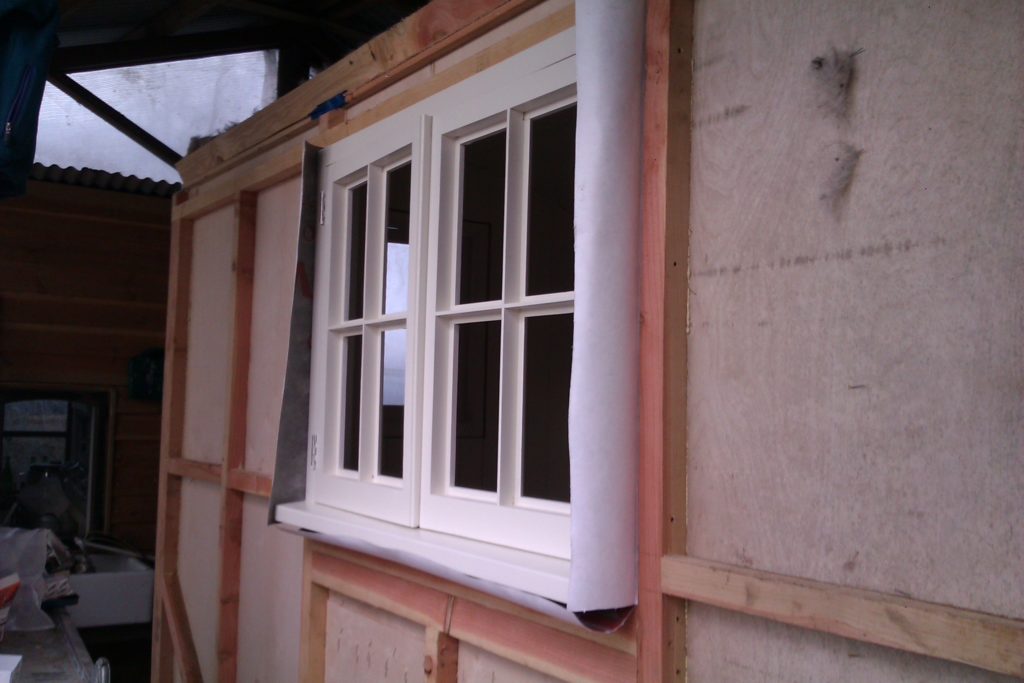
Fit windows.
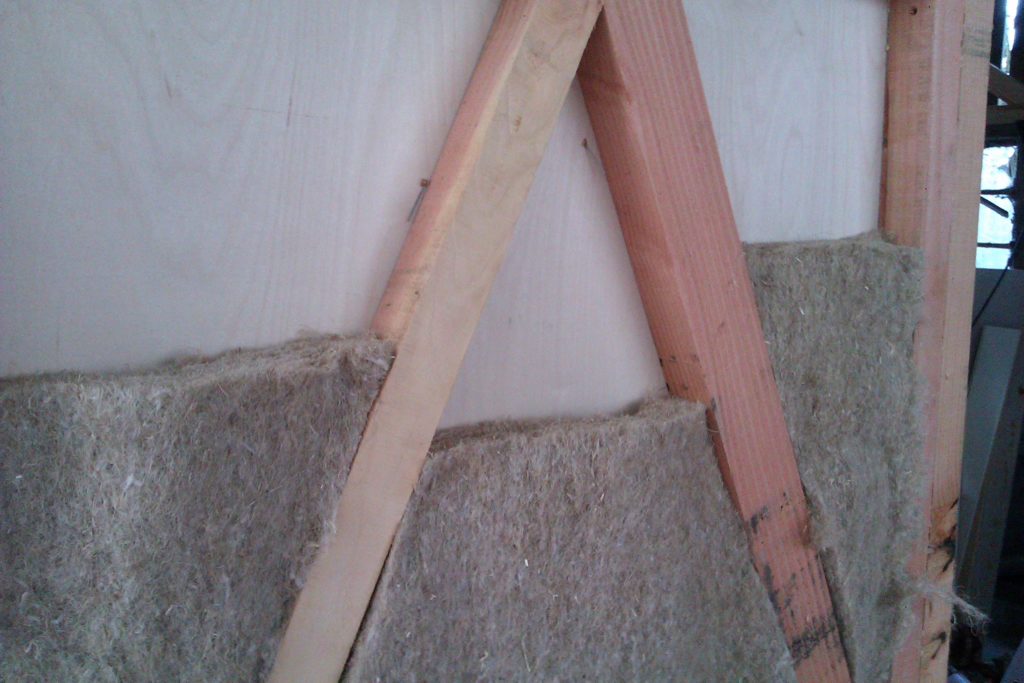
Insulate walls, ceiling and floor with sheeps’ wool insulation.
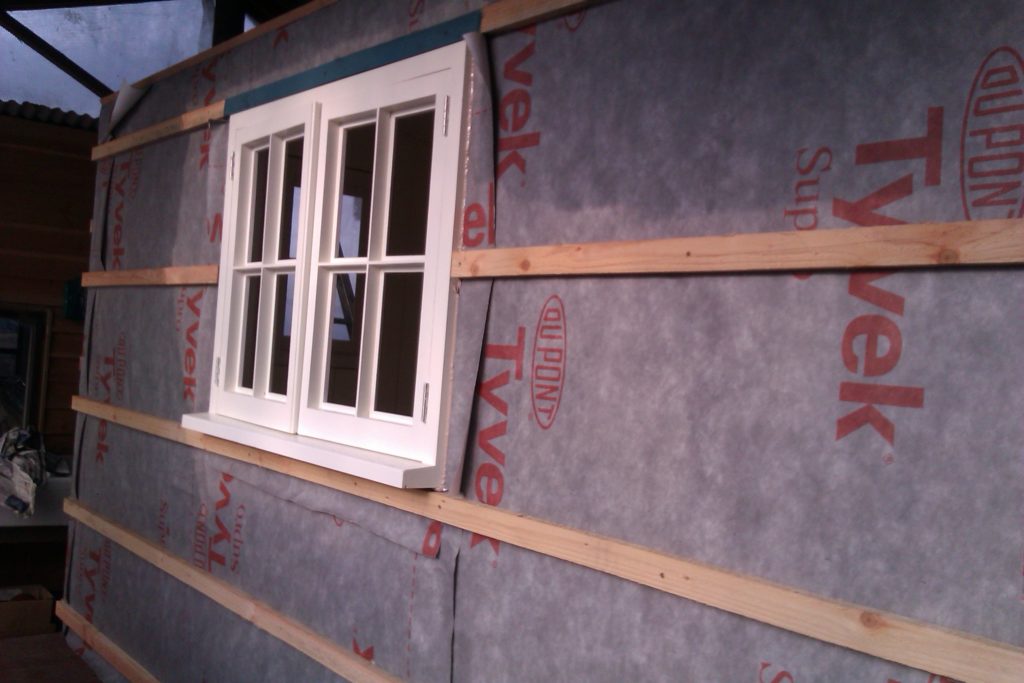
Sheathe in breathable membrane and fix counter battens to hold cladding.
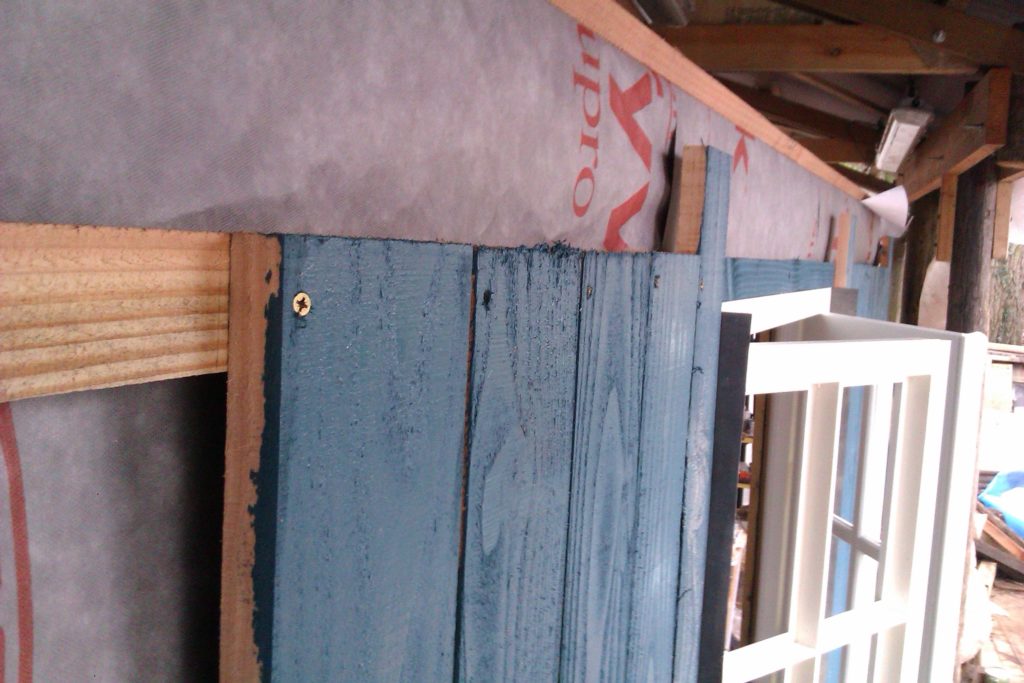
Fix pre-stained cladding.
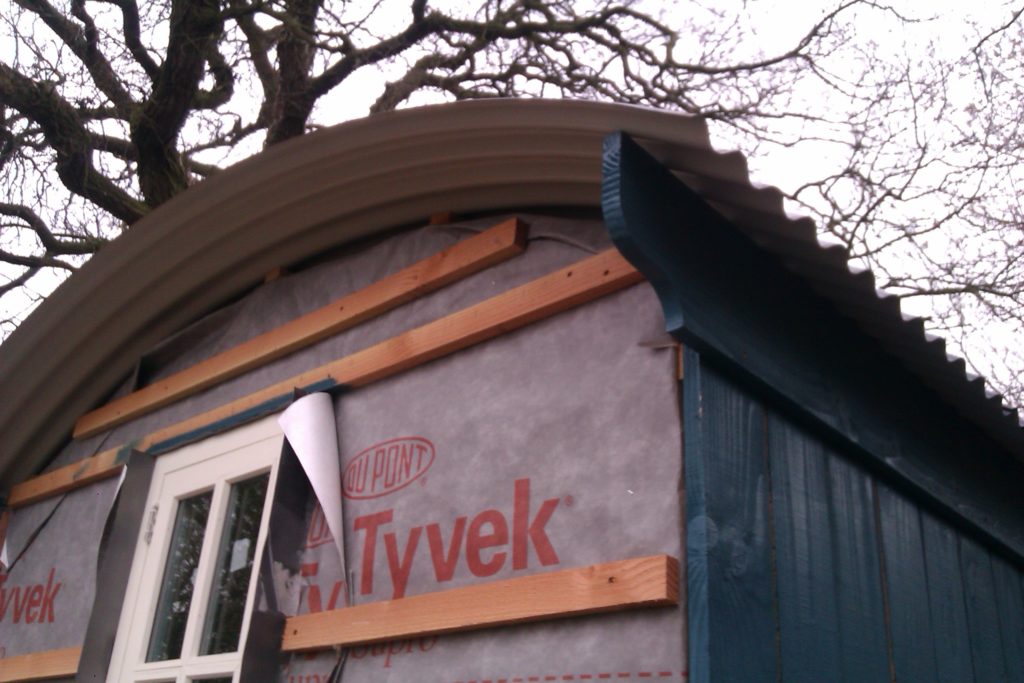
Fix roof and bargeboards.
Create folding sofa-bed.
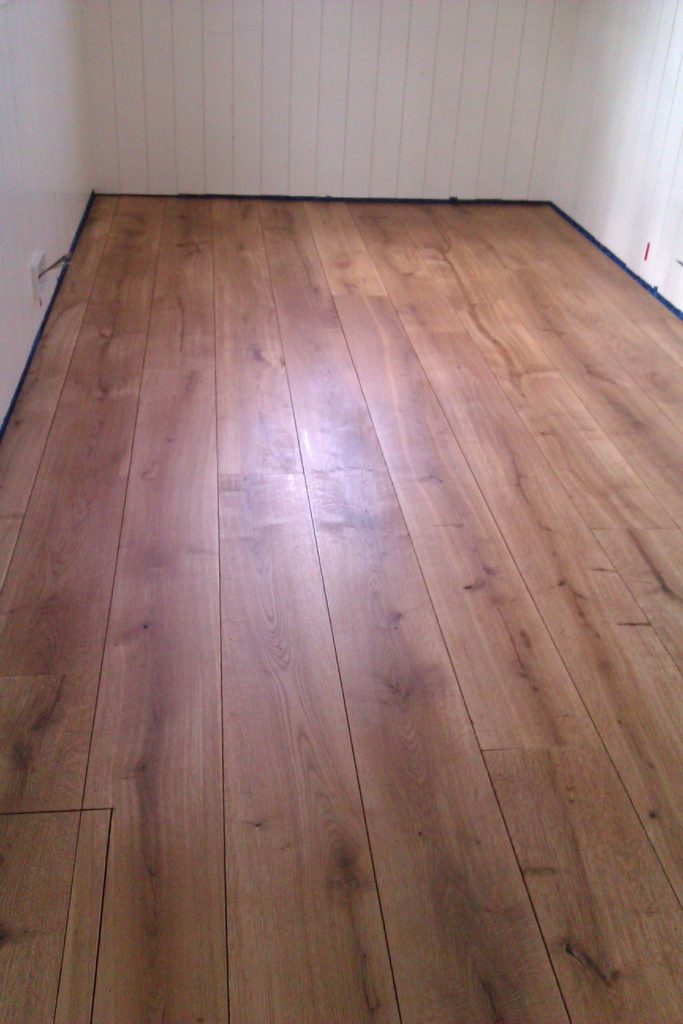
Finish inside walls with match boarding, and floor with English/Welsh oak T&G boarding.
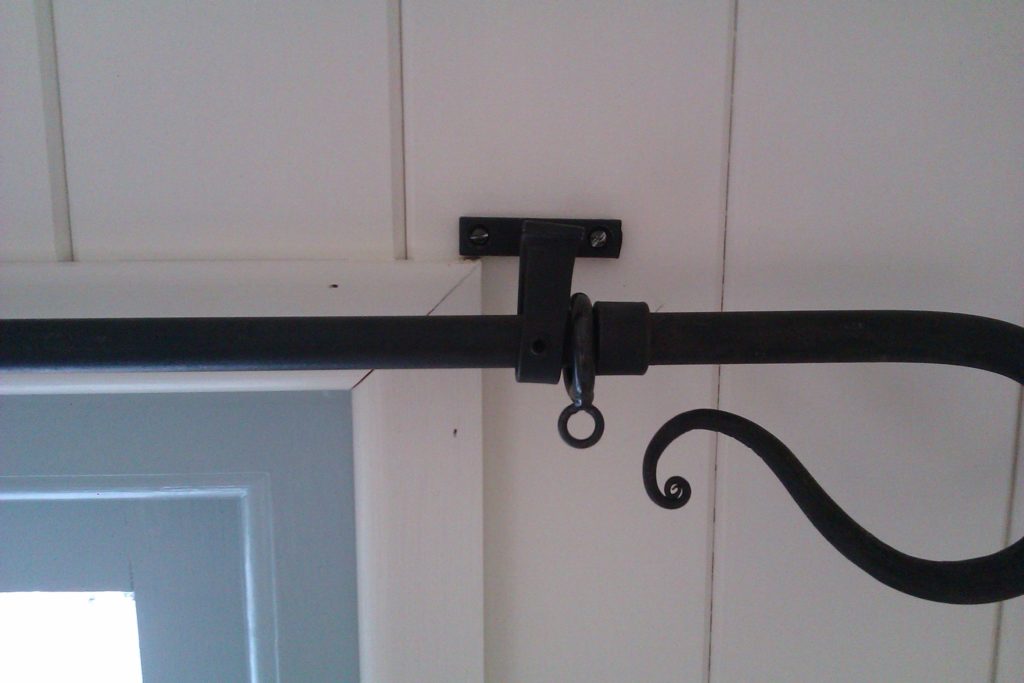
Fit locally-crafted window and door furniture.
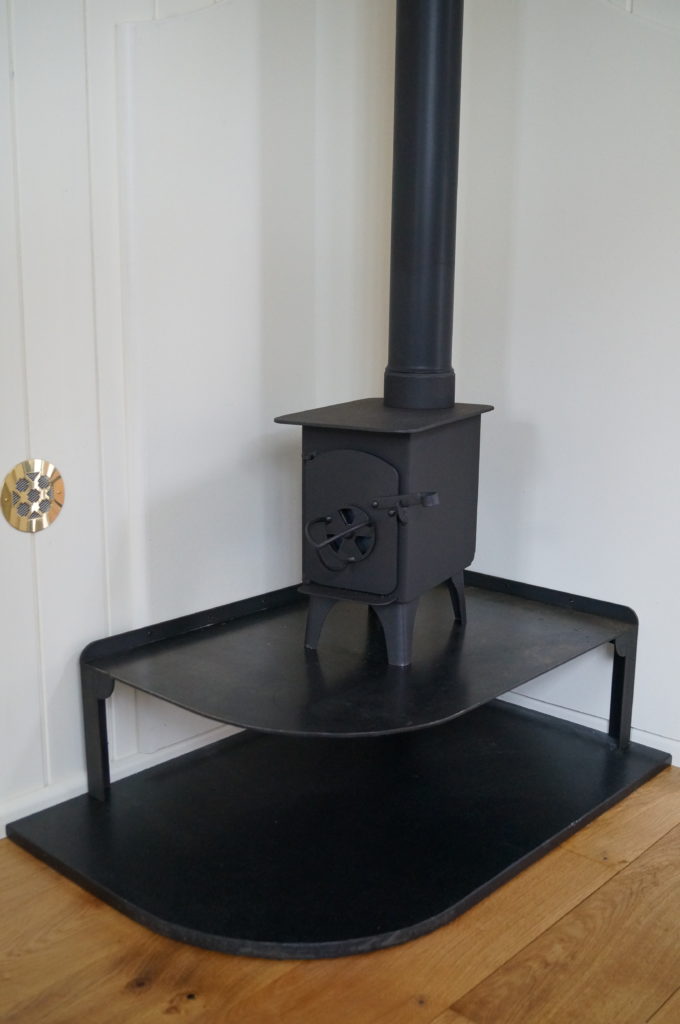
Fit woodturning stove, chimney and ventilation.
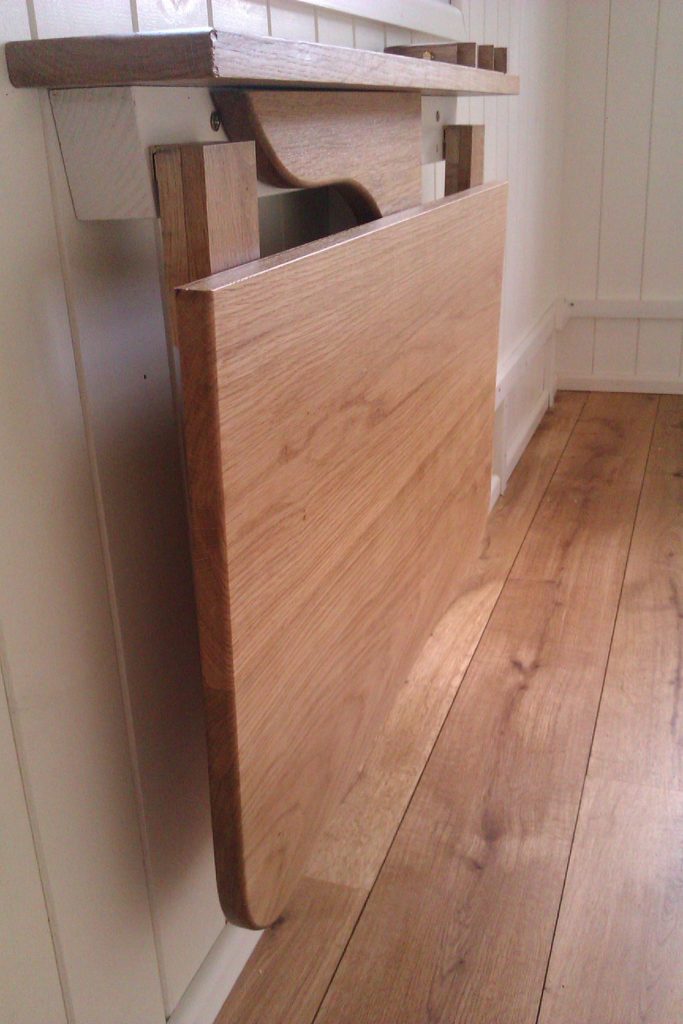
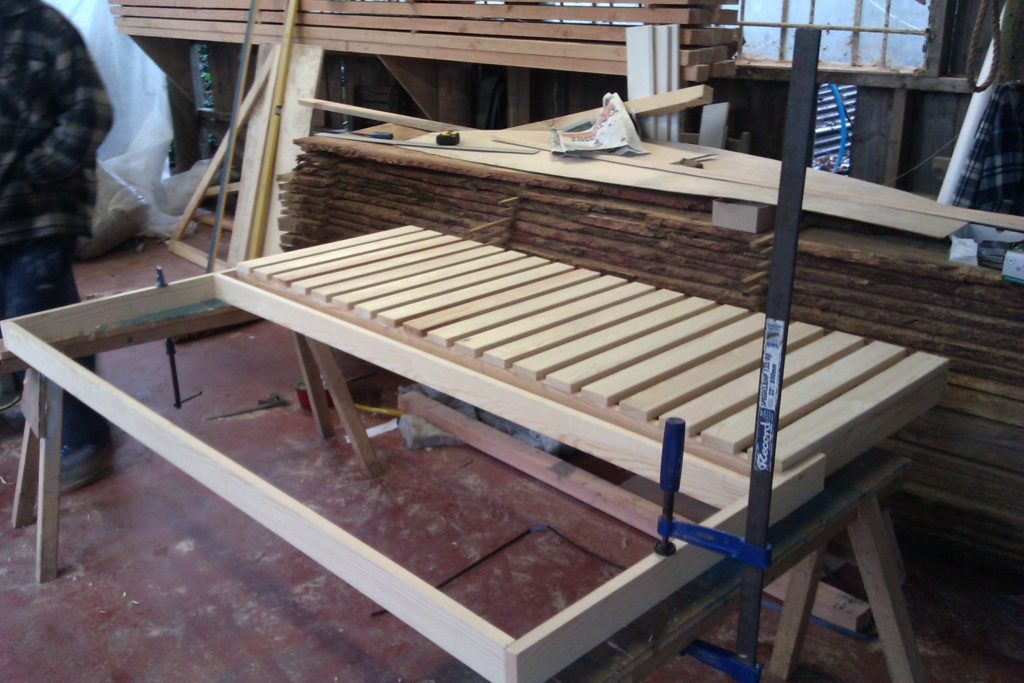
Make and fit folding table in oak.
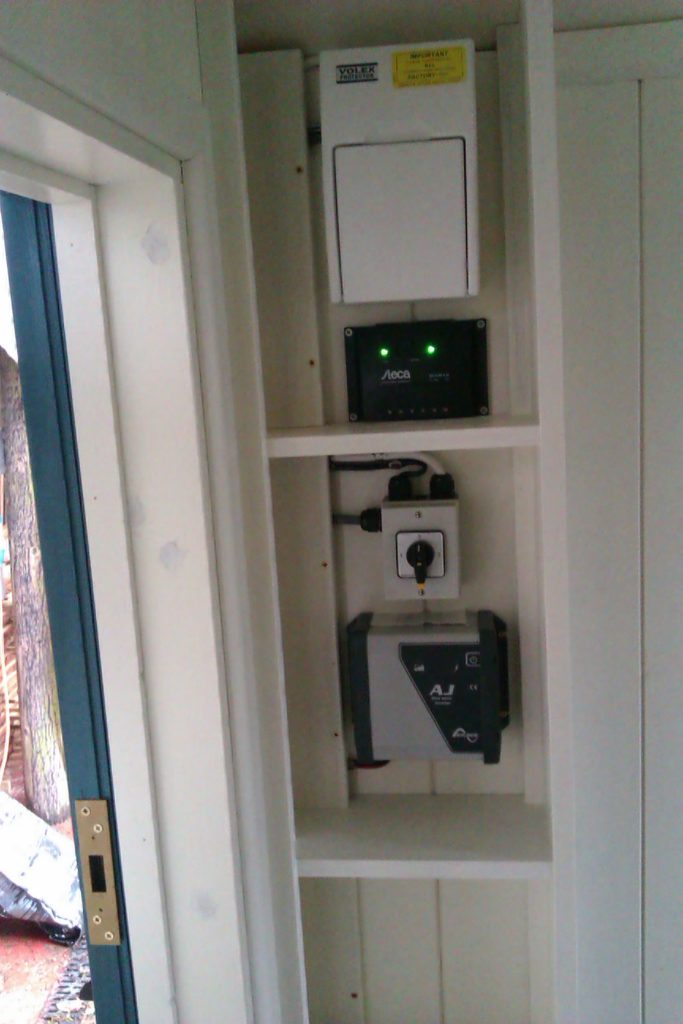
Finish electrics, including solar PV.

Show off your creation!